Building a portable light-weight composite baseboard, as published in Model Rail magazine No 286 dated 15 April 2021
Introduction
The effort of lifting traditionally constructed baseboards is becoming more noticeable, both for myself and other members of the Club. I therefore decided to build a proof-of-concept lightweight baseboard from partly recycled materials. Please note it incorporates a layer of 25mm expanded polystyrene sheet laminated with corrugated cardboard for rigidity and lightness. You could choose to replace the polystyrene sheet with another layer or layers of cardboard (running the grain at right-angles) to make the baseboard more environmentally friendly.
It uses corrugated cardboard fruit boxes obtained from my local supermarket, which allows customers to take them for re-use. You will need 3 of exactly the same size and type for the main structure, plus another 5 to 6 to cut up for laminating, reinforcement and the minimal legs. I used a solvent free high grab adhesive (Hard as Nails exterior grade TM).
Using 3 boxes side to side produced a nominal 46”x23” (116cm x 58cm) baseboard that would easily fit into my car, and had a net weight of 10lbs (4.5kg). It is easy to carry due to the handholds left in the ends of the original boxes (which become the upright sides of the baseboard), and is surprisingly rigid. Experimentation about methods of wiring, tracklaying and light-weight scenery will be next. This article shows the principles involved. You can adapt the method to suit the size and shape of baseboard that you require; nothing is “hard and fast”.
Method
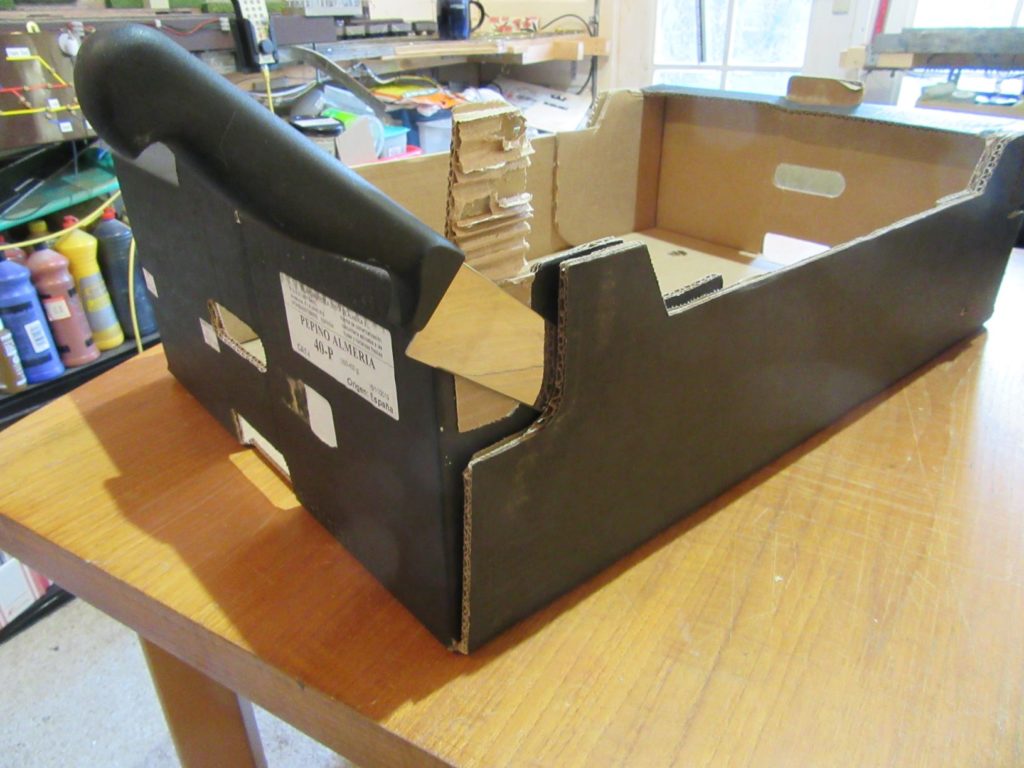
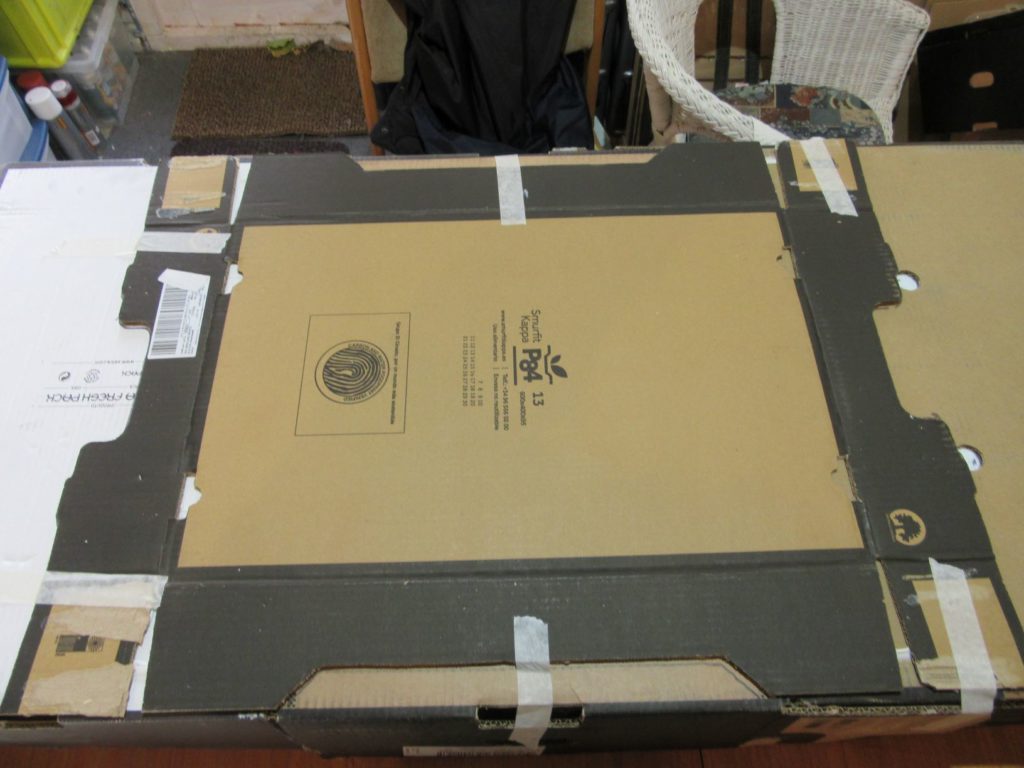
Stage 01 choose the best type of box

This shows the type of box I found most suitable. It has no internal bracing, is made of substantial corrugated cardboard and has high ends and sides. It is assembled with glue, not staples.
Stage 02 opening out the box(es)
Carefully cut through the glue lines with a breadknife to open up the box (either buy a dedicated breadknife for the purpose, or choose your moment with the one from the kitchen!).
Stage 03, one end box prepared
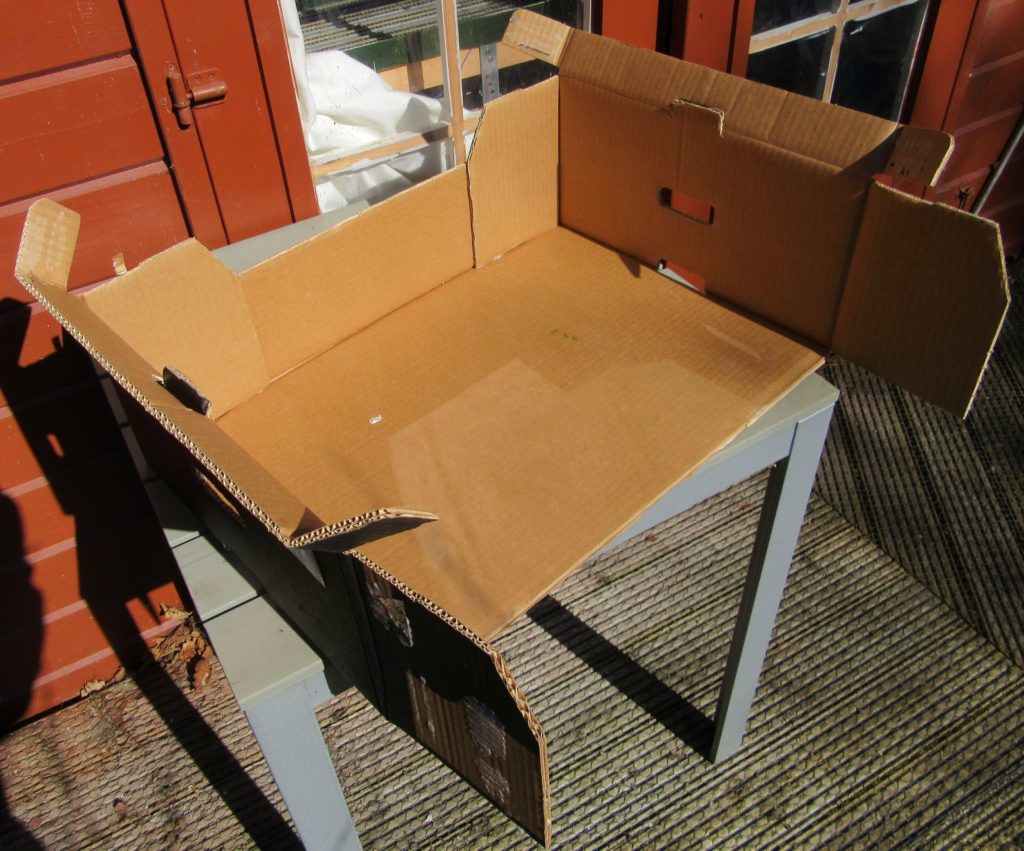
One of the end boxes is shown opened out prior to modifying the end flaps. Note that the long side nearest the viewer has been removed to allow this box to butt up to the middle box of the three used.
Stage 04 modifying the flaps before assembly
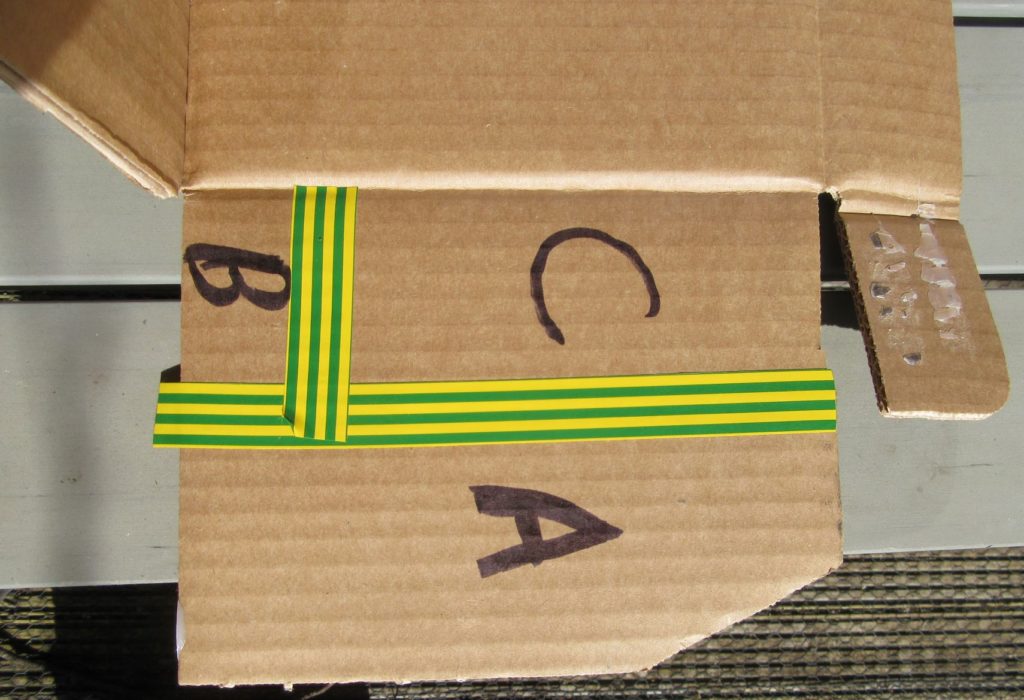
Modifying the flaps on each of the short sides of the two end boxes.
A-Remove about 50% of the flap, cutting away section A to the line.
B- Cut a notch in the bottom of the remainder about 1 ¼” or 30mm up from the bottom of the flap. This will allow the side flaps to be positioned on the inside of the finished sides, for a neater finish than I got in the Mark 1 version.
C-Leave section C in place for gluing later.
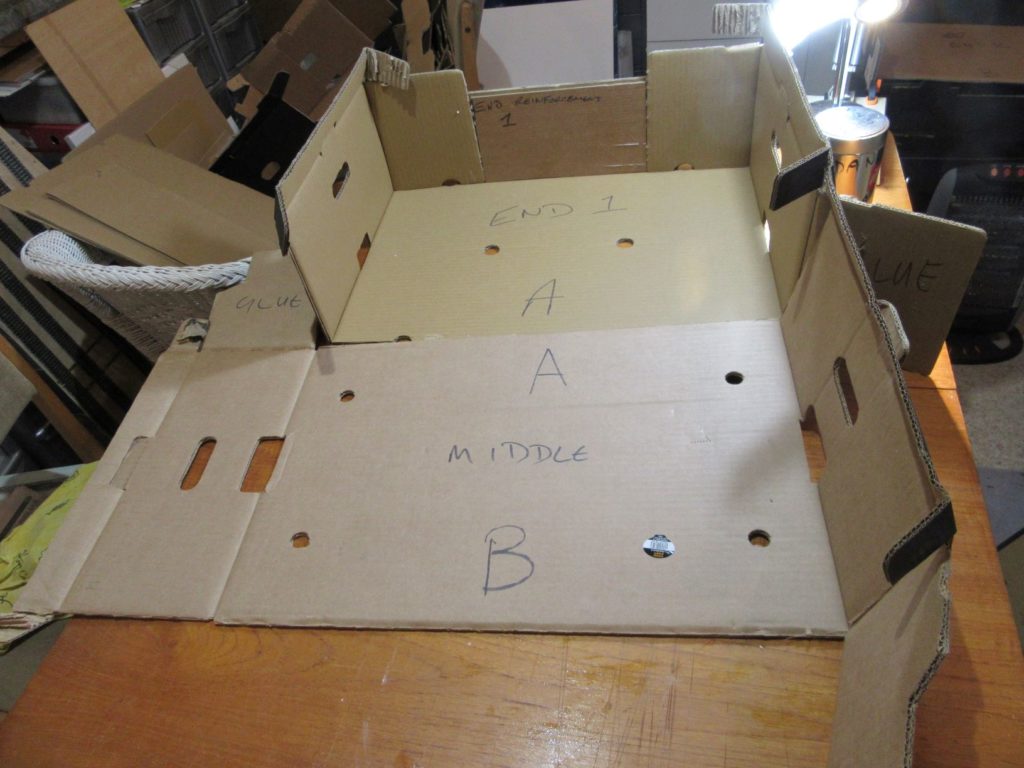
Stage 05 middle section of baseboard
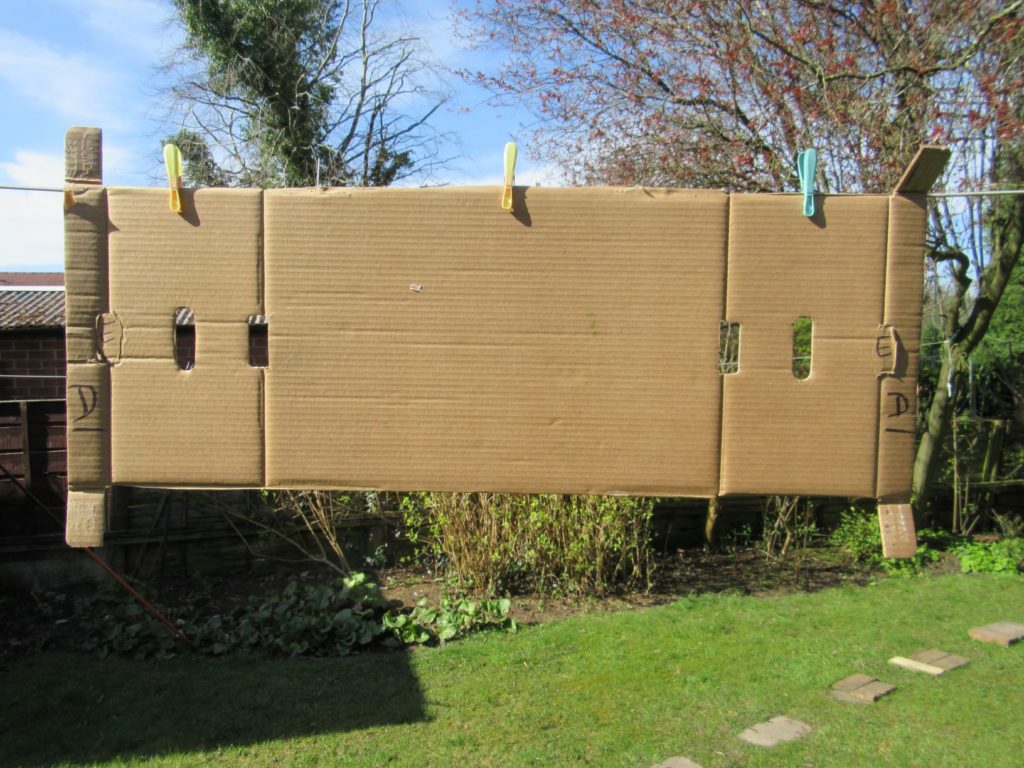
The second or middle box is shown completely opened up and hung up on a blustery day. Cut away sections to leave the remainder of this box as shown.
Stage 06 detailed preparation of middle box
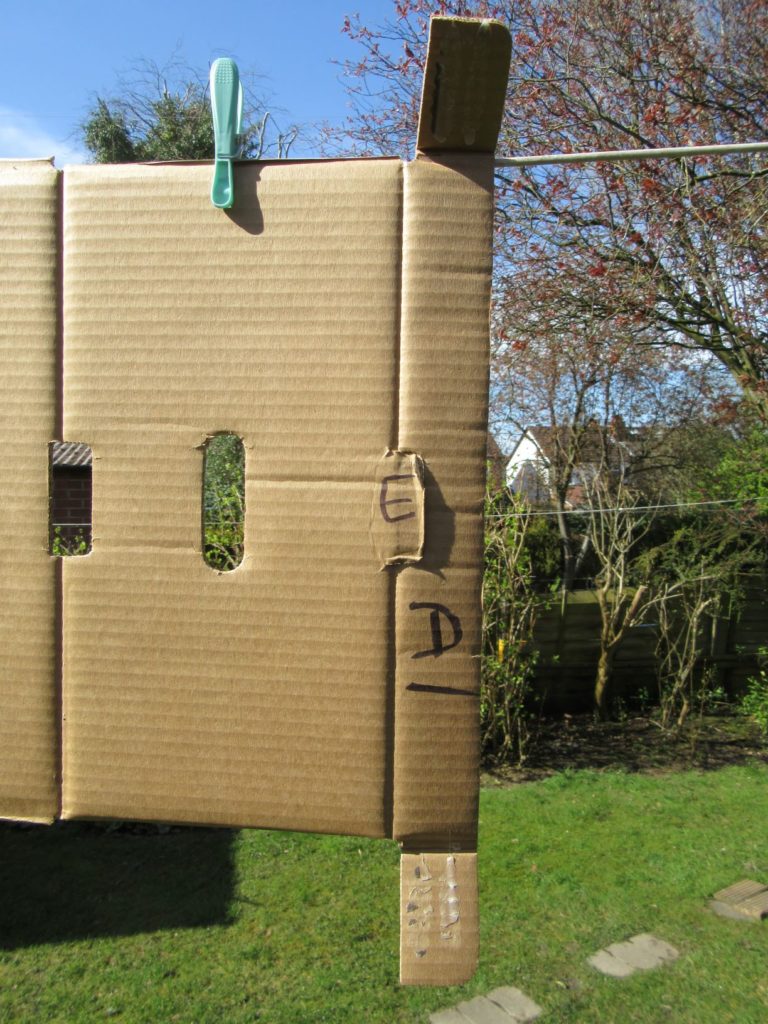
Close up of the end of the middle box.
Leave D in place, to be folded outwards and glued to the outside of the baseboard sides later, giving additional rigidity.
Trim E if necessary to avoid a protrusion.
Stage 07 reinforcing the end
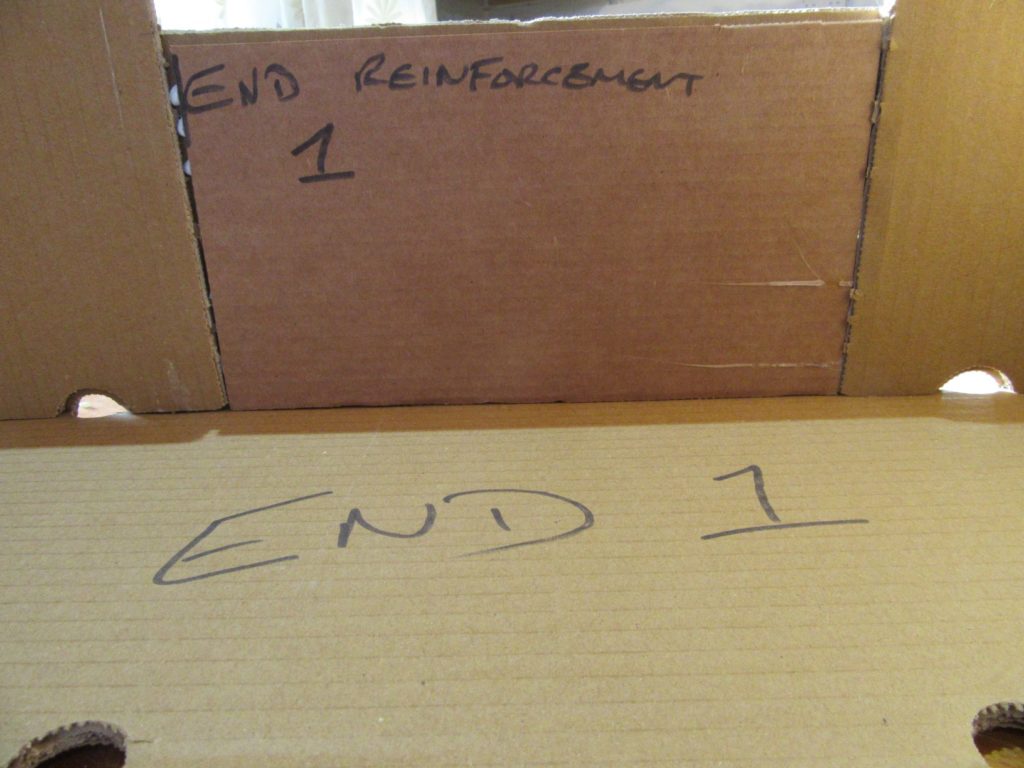
Cut and fit a reinforcing piece of cardboard to strengthen the end of the baseboard (actually the side of the box). Run the grain at right angles for rigidity.
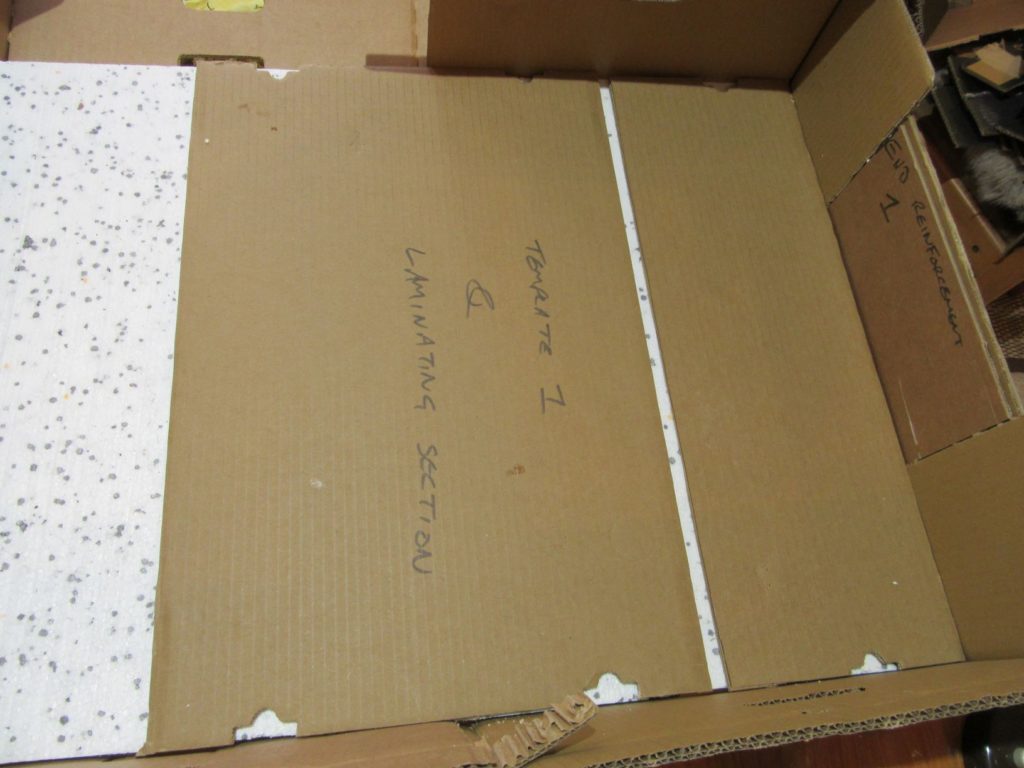
Stage 08 laminating layer for the top
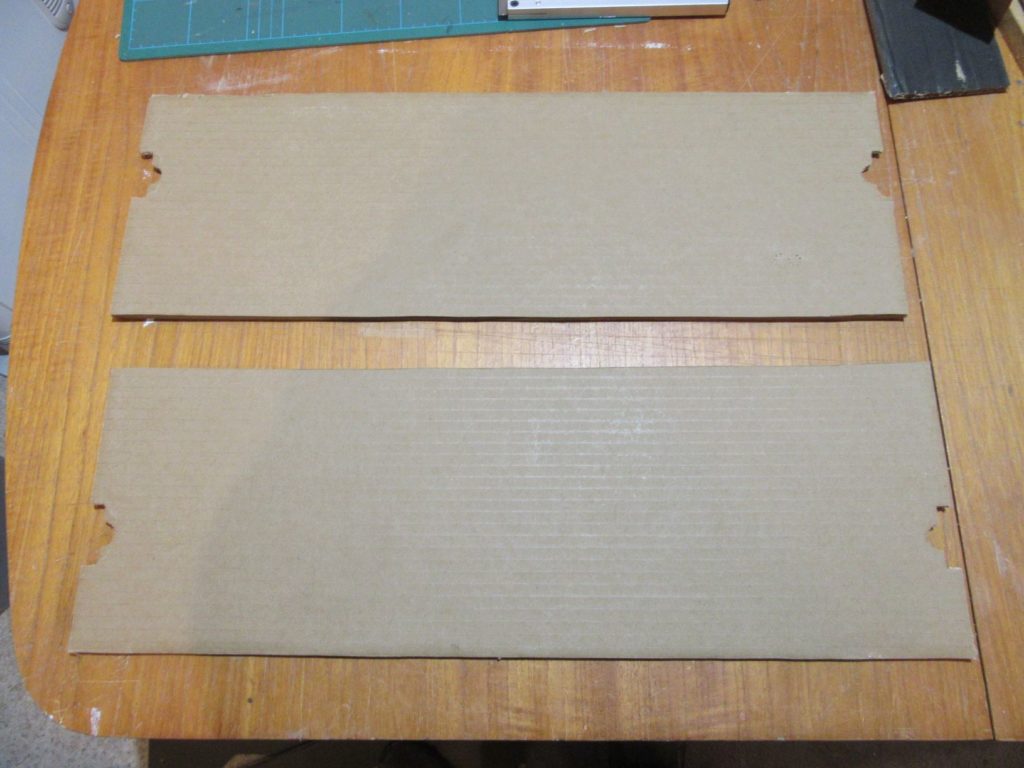
Cut the bases out of 3 of the other boxes (not the ones used for the main structure). Cut one of these bases in half so that laminating on top of the polystyrene sheet will avoid coinciding with the joints at the bottom of the main structure.
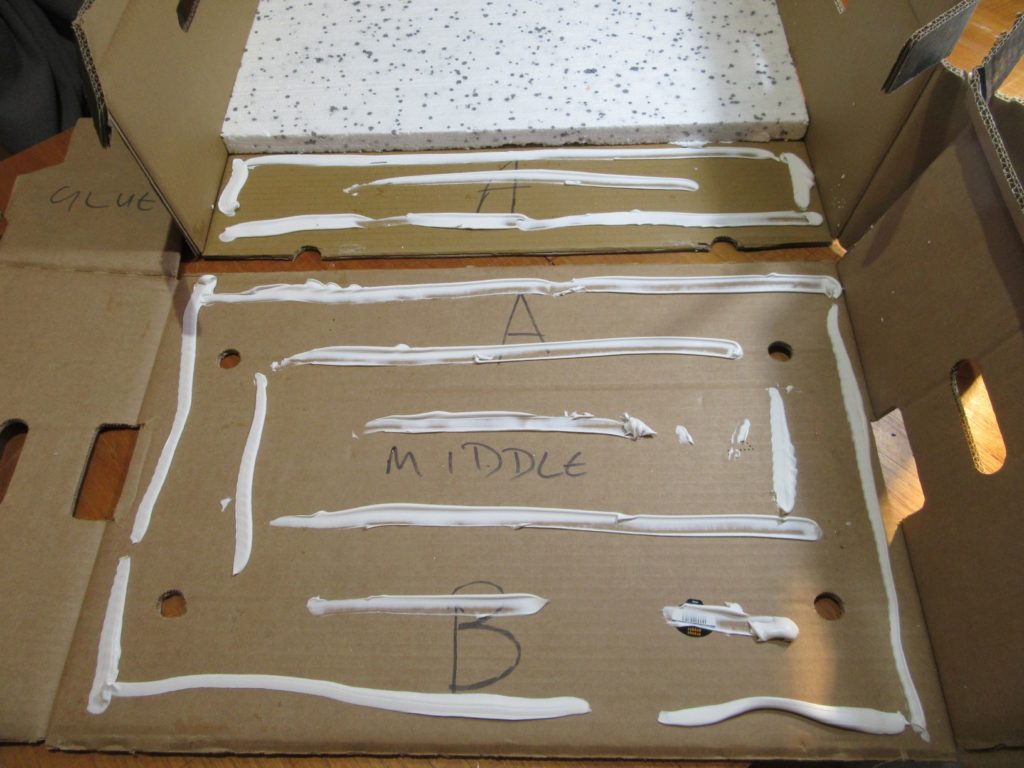
Stage 09 laminating
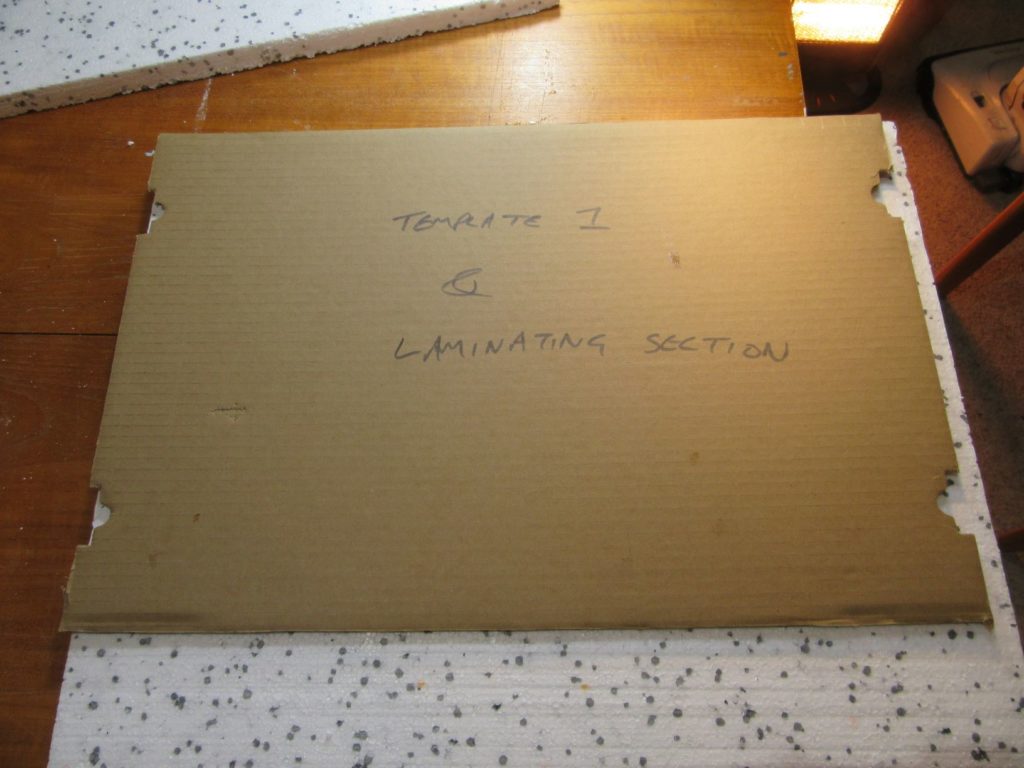
Shows the trial fit of the first laminating section to the expanded polystyrene sheet in the Mark 1 version.
Stages 10 and 11 principles of assembly
Glue the end flaps and clamp to the inside wall of the next box(es).
Stages 12 and 13, assembly and clamping
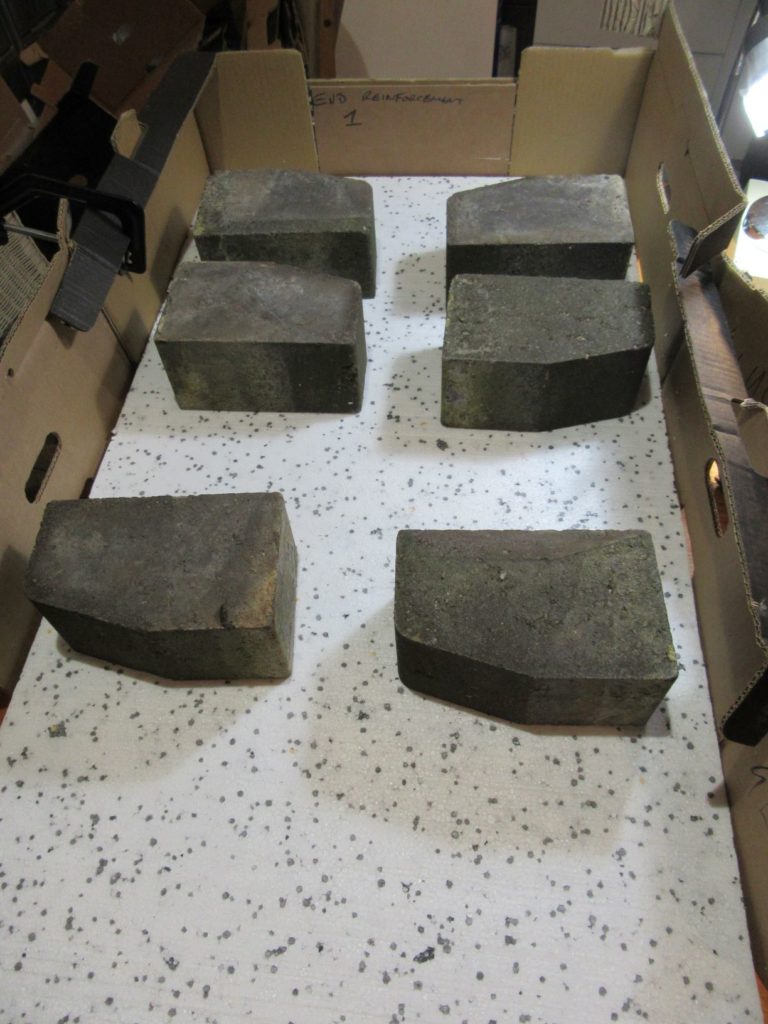
Gluing 2 boxes ready for installing the polystyrene sheet. When you install the polystyrene sheet, make sure you also run a bead of glue along the edge of the sheet where it adjoins the cardboard structure, for extra rigidity. Hold the sides more or less vertical with masking tape or string whilst the glue sets to help them stay upright.
You will have to use your ingenuity regarding clamping and weighting the structure while the glue sets at each stage.
Stage 14 adding the top lamination
Adding the top laminating layer of cardboard to the polystyrene sheet. Note the initial half-section at the end of the box, to ensure that joints are staggered in all layers of the structure as you assemble the 3 boxes.
Stage 15 reinforcing the underside
Open out and completely flatten another box and glue this in place on the underside to overlap and reinforce both central joints. Don’t cut any of this box away, unless it protrudes beyond the sides of the baseboard.
Stage 16 Legs
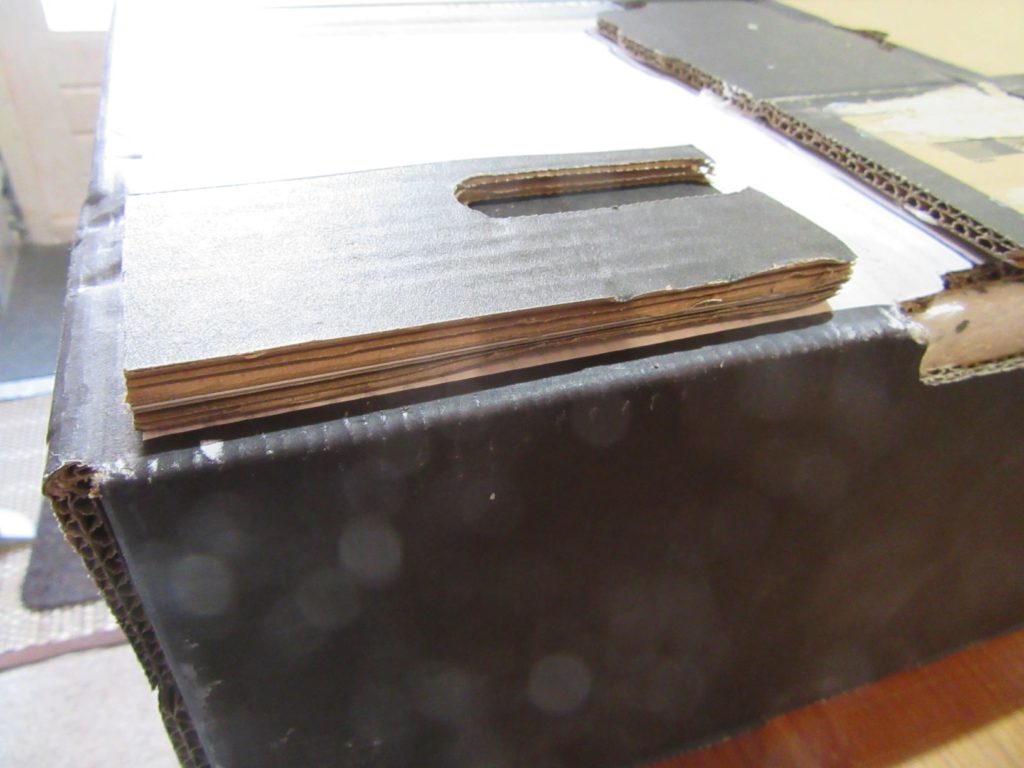
My baseboard will sit on a table, so it only needs to have very short legs. They are made from 3 layers of scrap cardboard and double-sided tape.
Stage 17 baseboard to baseboard joint

The board is intended join to another (Mark 2!). A simple shelf of hardboard was glued into place for easy alignment. The 2 boards will merely butt together, and may need bulldog clips to hold them together while in use. Time will tell.
Stage 18 the completed Mark 1 baseboard
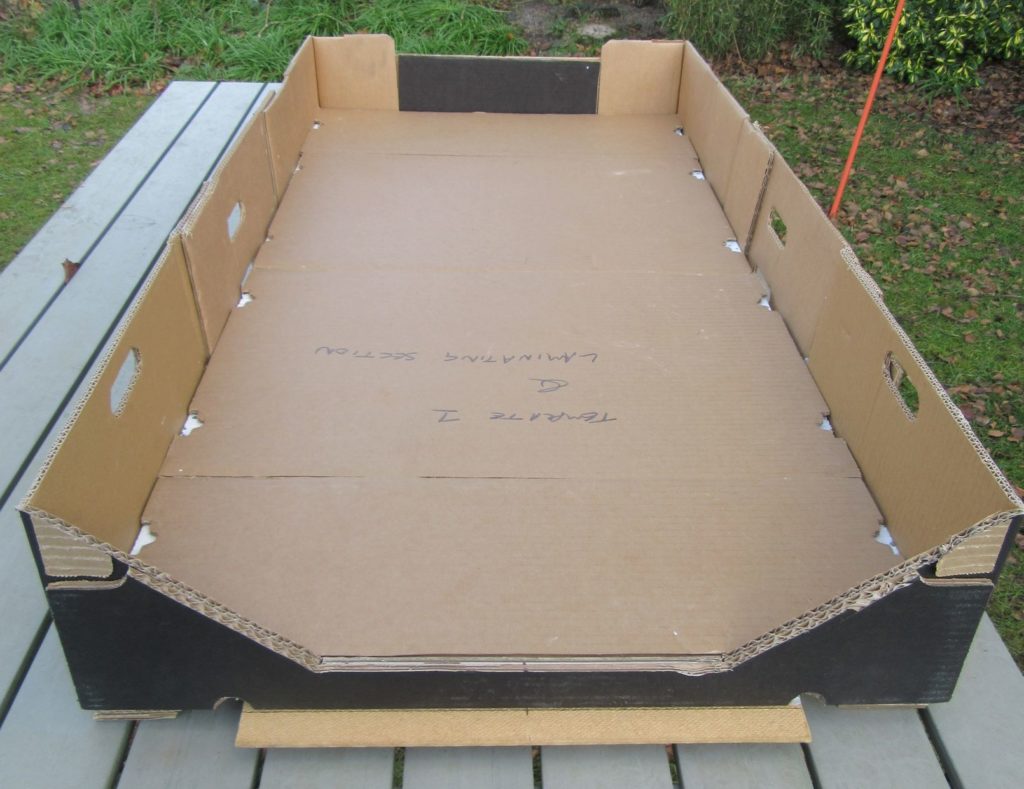
The completed baseboard. This is intended to be an “end” board.
Baseboard with track in place
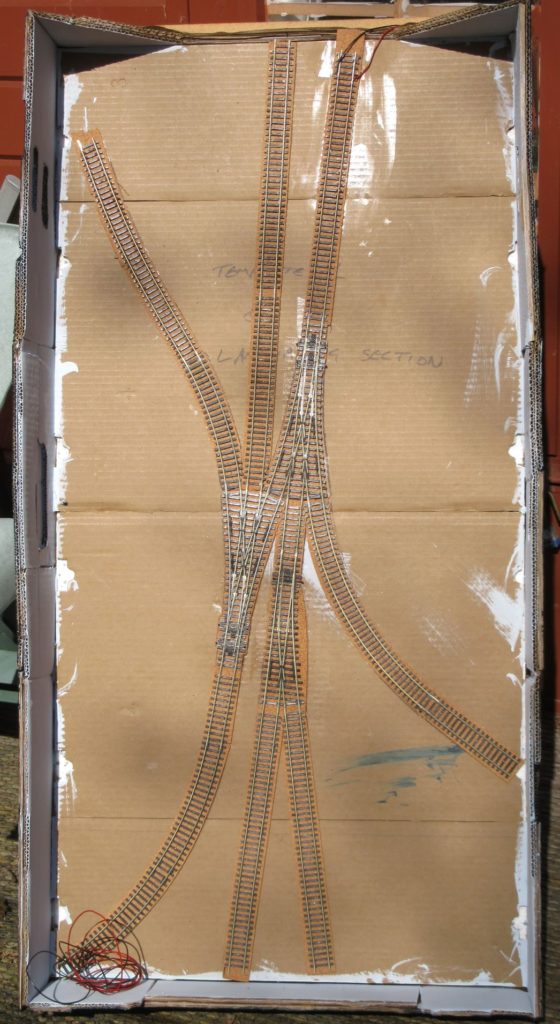
The underlay has been fixed with either double sided tape or PVA glue. Track has been fixed with 25mm dressmaking type pins, pushed into place. Analogue DC control will be used. The finished baseboard was given a coat of light blue emulsion on the inside walls and some left over gloss paint on the outside.
Afterthoughts
I added a single additional laminating layer of cardboard to the outside of the baseboard sides (run the corrugations at right-angles to those in the sides) for improved rigidity. Handholds were cut / opened out as required.
Progress so far


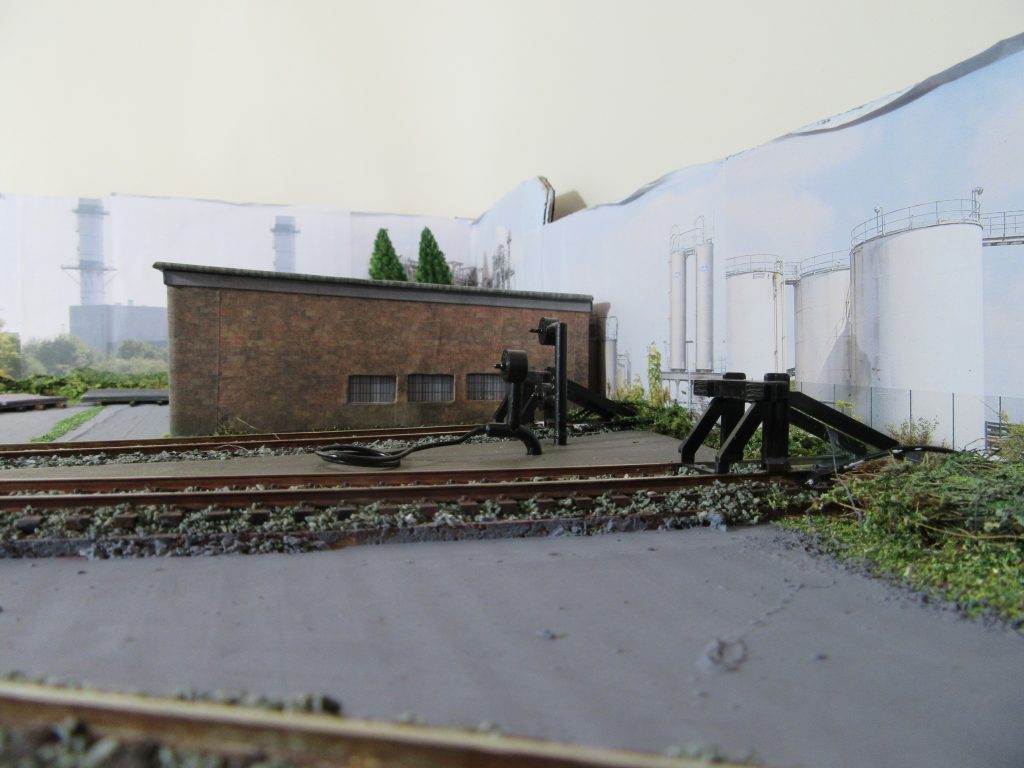


By accident, the trackplan has proven to be quite complex to shunt. I have set an arbitrary rule that the shunting locomotive must never be trapped on a siding by any vehicle. This necessitates the use of a pole from the locomotive to push vehicles to some locations, and a notional chain to pull shunted vehicles into position on other tracks. The locomotive must always be capable of returning to its notional stabling position, on the track immediately adjacent to the large timber-built building. This adds a significant extra layer of challenge over and above the simple shunting plank style of layout.